External Detectors
It is possible to integrate FindFace Multi with external detectors that can source frames for object recognition, e.g., Access Control terminals. In this case, once FindFace Multi receives a frame from an external detector, it will initiate the extraction of the object’s feature vector and event creation. You can work with these events by analogy with the events from CCTV cameras.
External detector integration is done through HTTP API. After the primary configuration, FindFace Multi will issue a token. Specify this token in every API request sent by the external detector to FindFace Multi to authorize the device.
To integrate an external detector with FindFace Multi, do the following:
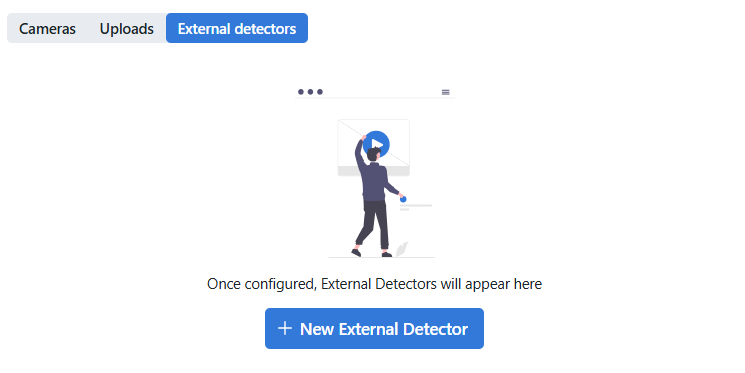
Navigate to the Video Sources → External Detectors.
Click + New External Detector.
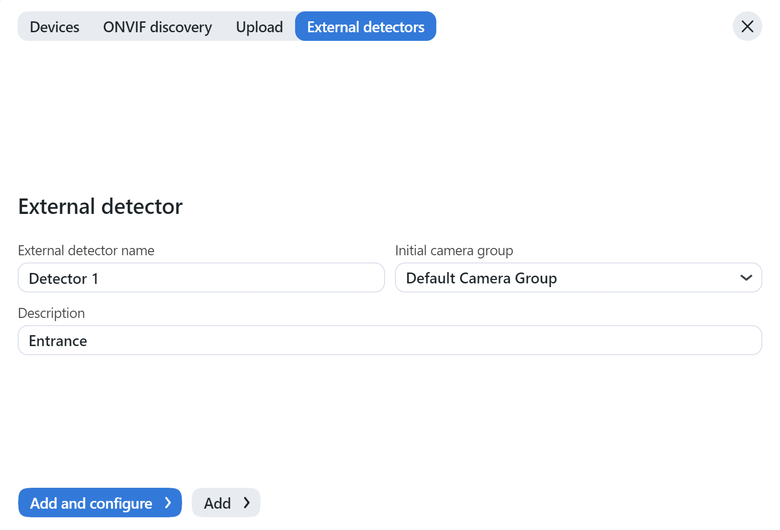
In the opened tab, specify the external detector name and description. Add the external detector to a camera group, so it will be more convenient to filter events from this device later.
Tip
You can allot a separate camera group specifically to external detectors.
Click Add and configure. On the General tab, enable liveness if required. If you have chosen to enable liveness on external detectors, it is recommended to configure the neural network model, used for liveness recognition. As frames from external detectors are processed by the
findface-extraction-apiservice, configure thefindface-extraction-api.yamlfile.On the same tab you will see a token.
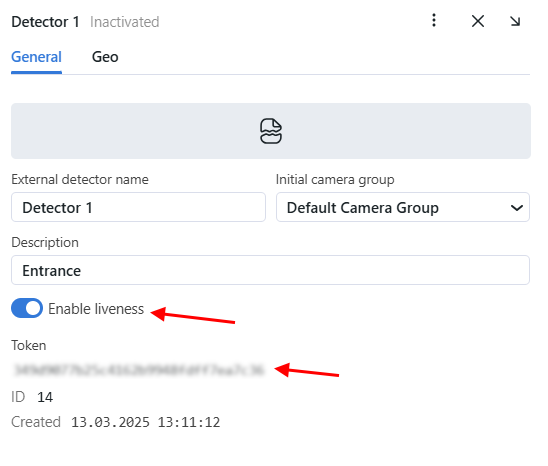
Specify this token in every API request that the external detector sends to FindFace Multi to create an event. As a result, frames passed in the requests will be associated with the external detector’s relevant camera and processed by analogy with the frames from CCTV cameras.
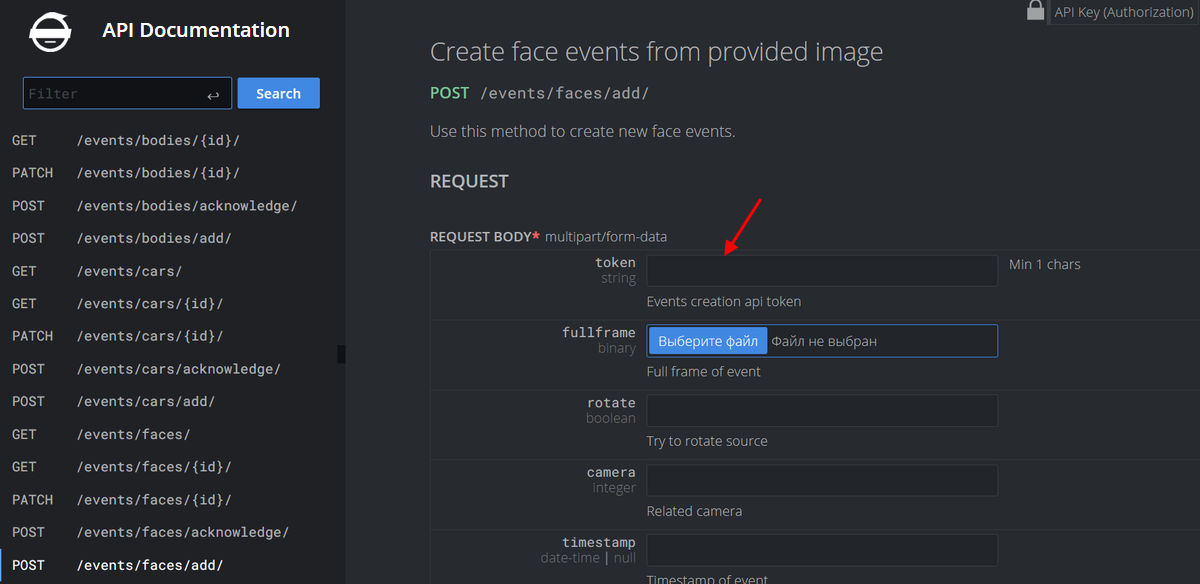
Detailed interactive documentation on the FindFace Multi HTTP API is available after installation at
http://<findface-ip:port>/api-docs. Learn and try it out.Tip
You can also find it by navigating to Settings → API Documentation in the web interface.
Configure Liveness Recognition Model
The liveness extraction model faceattr.liveness_web.v1 comes in the default configuration and is used for authentication by face. If you enabled liveness on an external detector, you may want to replace the default liveness recognition model in the findface-extraction-api.yaml file with the faceattr.liveness_pacs.v3 model, recommended for liveness spoofing attack detection on PACS cameras. The extraction model faceattr.liveness_pacs.v3 model uses the crop2x.v2_maxsize400 normalizer. Make sure to enable it in the normalizers → models section.
GPU
sudo vi /opt/findface-multi/configs/findface-extraction-api/findface-extraction-api.yaml

extractors:
  ...
  models:
    face_liveness:
      default:
        model: faceattr/faceattr.liveness_pacs.v3.gpu.fnk
    ...
normalizers:
  ...
  models:
    ...
    crop2x:
      model: facenorm/crop2x.v2_maxsize400.gpu.fnk
    ...
CPU
sudo vi /opt/findface-multi/configs/findface-extraction-api/findface-extraction-api.yaml

extractors:
  ...
  models:
    face_liveness:
      default:
        model: faceattr/faceattr.liveness_pacs.v3.cpu.fnk
    ...
normalizers:
  ...
  models:
    ...
    crop2x:
      model: facenorm/crop2x.v2_maxsize400.cpu.fnk
    ...
Restart the findface-multi-findface-extraction-api-1 container.
sudo docker restart findface-multi-findface-extraction-api-1