Camera Management
To configure video-based biometric identification, add cameras to FindFace Security, grouping them subject to their location.
In this chapter:
Create Group of Cameras
To create a group of cameras, do the following:
Navigate to the Camera groups tab.

Click Create.
Specify the group name. Add a comment.
If you want to deduplicate events from cameras that belong to the same group, i. e. exclude coinciding events, check Deduplicate Events and specify the deduplication interval in seconds (interval between 2 consecutive checks for event uniqueness).
Check Active.
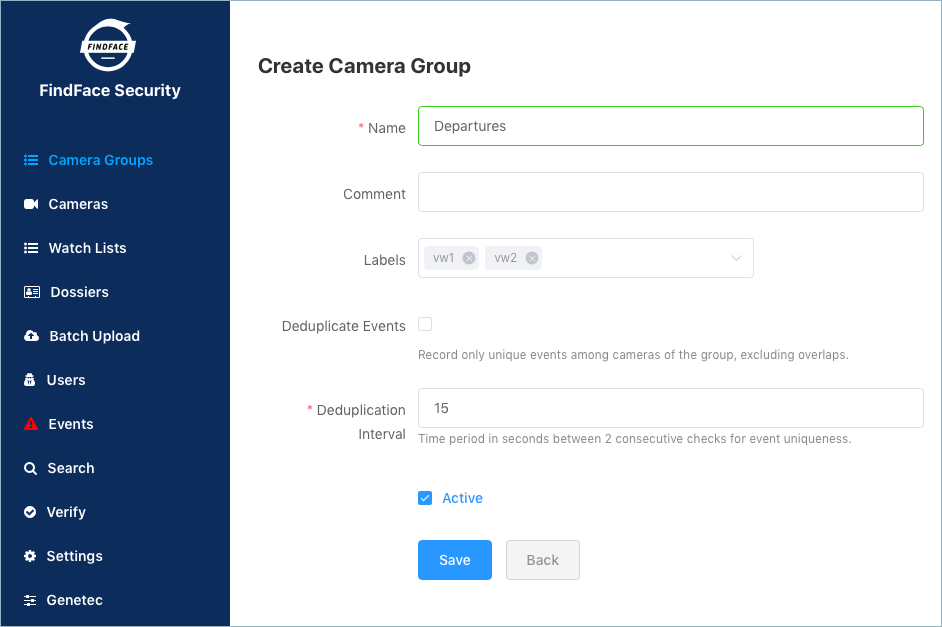
Click Save.
Add Camera to Group
To add a camera to a group, do the following:
In the web interface, go to the Cameras tab.
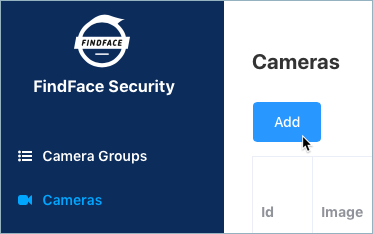
Click Add.
Specify the name of a camera and add it to a group. If necessary, add a comment.
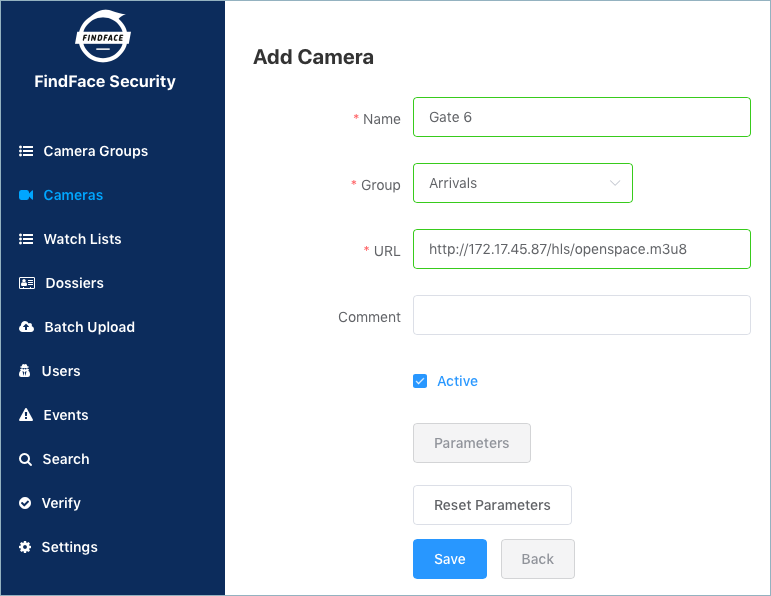
Specify the camera URL or path to the video file.
Check Active.
To configure GPU-based video processing, click Parameters and navigate to the GPU tab.
Min face quality: Minimum quality of a face snapshot when searching for the best one. To be fitted empirically: negatives values around 0 = high quality faces, -1 = good quality, -2 = satisfactory quality, -5 = inverted faces and large face angles, face recognition may be inefficient.Max face angle: Maximum deviation of a face from its frontal position. To be fitted empirically: -3.5 = large face angles, face recognition may be inefficient, -2.5 = satisfactory deviation, -0.05 = close to the frontal position, 0 = frontal face.Min face size: Minimum face size in pixels. The less the value, the longer it takes to detect and track faces. Optimum value: 80-100-120. If 0, the filter is off.Max face size: Maximum face size in pixels. If 0, the filter is off.Realtime mode: Realtime mode. Pick up the best snapshot within eachSnapshot picking intervaltime interval. IfPost each best snapshot: true, the best snapshot is posted at the end of each interval; iffalse, the best snapshot is posted only if its quality has improved comparing to the previously posted snapshot.Post each best snapshot: Iftrue, post the best snapshot obtained within eachSnapshot picking intervaltime interval in realtime mode. Iffalse, post the best snapshot only if its quality has improved comparing to the previously posted snapshot.Snapshot picking interval: Time interval in milliseconds within which the face tracker picks up the best snapshot in realtime mode.Offline mode: Offline mode. Enable posting one snapshot of the best quality for each face.ROT: Enable detecting and tracking faces only inside a clipping rectangle. Use this option to reduce the video face detector load.ROI: Enable posting faces detected only inside a region of interest.Tip
To specify ROT/ROI, use the visual wizard. First, create a camera without ROT/ROI. Then open it for editing and click Parameters. You will see the visual wizard appear.
If necessary, specify optional parameters for CPU-based video processing. Click Advanced Parameters.
FFMPEG options: FFMPEG options for a video stream in the key-value format [“rtsp_transpotr=tcp”, “ss=00:20:00”].Frame height: Video frame height in pixels for the face tracker. Negative values correspond to the initial size. Optimum value to reduce load: 640-720.Tracked faces: Maximum number of faces simultaneously tracked by the face tracker. This parameter severely affects performance.Tracker threads: Number of tracking threads for the face tracker. This value should be less or equal to the maximum number of tracked faces. Recommended to set them equal. If the number of tracking threads is less than the maximum number of tracked faces, resource consumption is reduced but so is the tracking speed.JPEG quality: Full frame compression quality.Draw track: Enable drawing a face motion track in a bbox.Response timeout: Response timeout in milliseconds for an API request.Min motion intensity: Minimum motion intensity to be detected by the motion detector. To be fitted empirically: 0 = detector disabled, 0.002 = default value, 0.05 = minimum intensity is too high to detect motion.Scale frame: Video frame scaling coefficient for the motion detector from 0 to 1. Scale down in the case of high resolution cameras, or close up faces, or if the CPU load is too high, to reduce the system resources consumption.
To configure GPU-based video processing, click Parameters and navigate to the GPU tab.
Filter min face quality: Minimum quality of a face snapshot to post. To be fitted empirically: negatives values around 0 = high quality faces, -1 = good quality, -2 = satisfactory quality, -5 = inverted faces and large face angles, face recognition may be inefficient.Min face size: Minimum face size in pixels to post. If 0, the filter is off.Max face size: Maximum face size in pixels in post.Min face size: Minimum face size in pixels to post. If 0, the filter is off.JPEG quality: Full frame compression quality.FFMPEG options: FFMPEG options for a video stream in the key-value format [“rtsp_transpotr=tcp”, “ss=00:20:00”].Post only the best snapshot: Offline mode. Enable posting one snapshot of the best quality for each face.Posting timeout: Response timeout in milliseconds for an API request.Retrieve timestamps from stream: Iftrue, retrieve and post timestamps from a video stream. Iffalse, post the actual date and time.Add to timestamp: Add the specified number of seconds to timestamps from a stream.
Click Save.
Monitor Camera Operation
To monitor the operation of cameras, navigate to the Cameras tab.
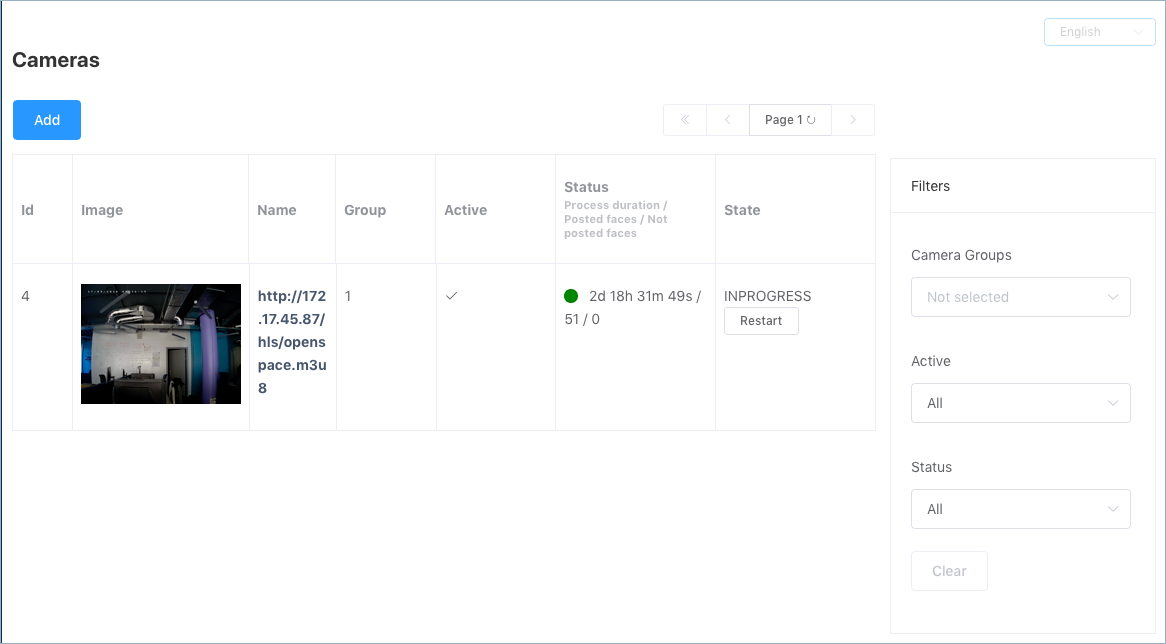
Camera statuses:
- Green: the video stream is being processed without errors.
- Yellow: the video stream is being processed for less than 30 seconds, or an error occurred when posting a face.
- Red: the video stream cannot be processed.
For each camera, you will be provided with the following statistics: current session duration/ the number of successfully posted faces/ the number of faces processed with errors.
To restart a camera, click Restart in the State column.
With a large number of cameras in the system, use the following filters:
- Camera group,
- Active,
- Status.