Deploy on Windows
In this section:
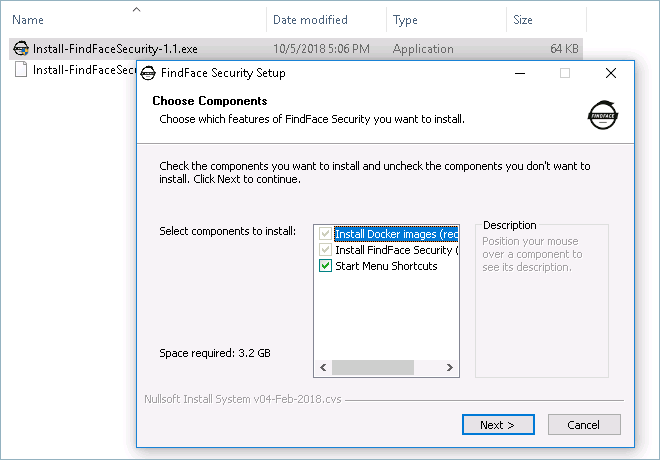
Installation
To deploy FindFace Security on Windows, do the following:
Install the Docker virtualization environment (see the Docker’s official documentation).
In the Docker settings, share the hard drive you chose to install FindFace Security. To do so, navigate to , select the drive and apply Share.
In the Docker settings, allocate the maximum possible number of CPU cores and required amount of RAM to support video processing from all the cameras in use, as well as the Docker’s own needs. See System Requirements for details.
Tip
For example, allocate 6 Gb if you use 1 camera, 8 Gb if 2 cameras, etc.
Add the current Windows user to the
docker-usersgroup.Important
Do not use a user account with an empty password.
Download the FindFace Security for Windows installation files: <Install-FindFaceSecurity>.exe and <Install-FindFaceSecurity>.nsisbin. For successful installation, these files have to be in the root of the same directory.
Launch <Install-FindFaceSecurity>.exe.
Follow the Installation Wizard’s instructions. During the installation, you will need to select the IP address of the
ffsecuritycomponent that will be used to access the FindFace Security web interface. The list of possible IP addresses is numbered. In the utility window, enter the right number and press Enter.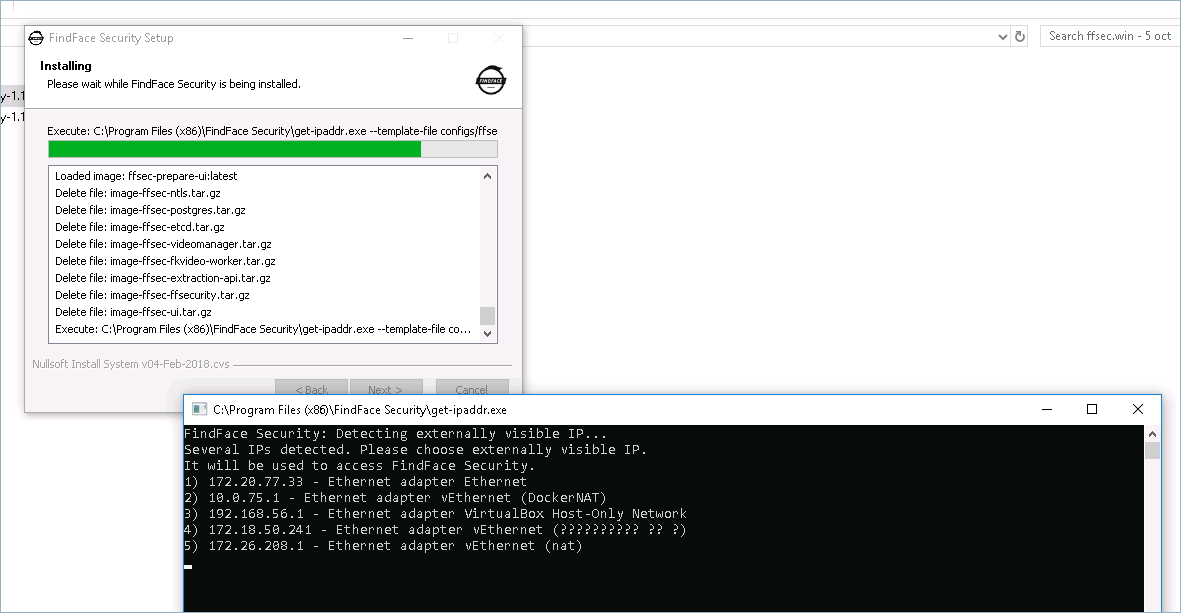
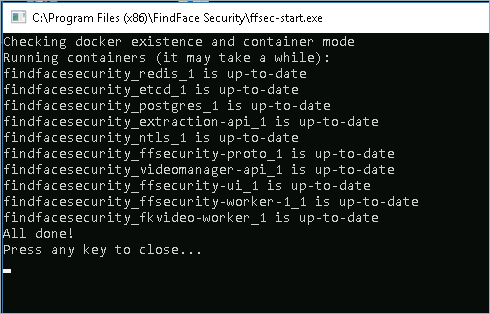
After the installation is complete, leave Start FindFace Security and open its webpages and Show Readme checked, and click Finish. You will see a command prompt with component statistics appear, as well as the FindFace Security main web page and the web interface of the license server. Use the license server web interface to upload your license file.
Tip
You will find all the links and credentials you need to get started with FindFace Security in the newly opened
readme.txt.Note
The FindFace Security web interface is available via
httpon port8081.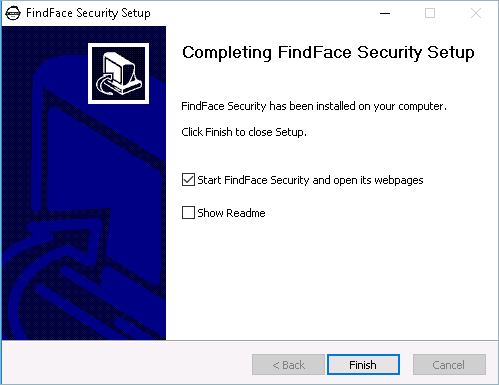
Note
You can find the README file in the installation directory ( by default).
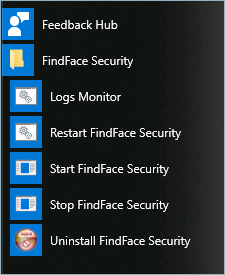
Launch and Manage FindFace Security
In order to launch, restart, or stop FindFace Security, use shortcuts in the Start menu.
Note
You can find the relevant EXE files in the installation directory ( by default).