Configure Integration
Integration with Genetec Security Center is implemented via the findface-genetec plugin. By default, the plugin is enabled, and the FindFace Security Preferences features the Genetec tab.
Note
If it is not so, open the ffsecurity configuration file, and check whether it features the enabled line INSTALLED_APPS.append(‘ffsecurity_genetec’).
sudo vi /etc/ffsecurity/config.py

...

FFSECURITY_UI_CONFIG = {
    "event": {
        "features": {
            "f_gender_class": ["male", "female"],
            "age": {
                "f_age_gte": "",
                "f_age_lte": ""
            },
            "f_emotions_class": ["angry", "disgust", "fear", "happy", "sad", "surprise"],
            "f_glasses_class": ["none", "eye", "sun"],
            "f_beard_class": ["none", "beard"],
            "f_liveness_class": ["real", "fake"],
        }
    }
}

# integration plugins
INSTALLED_APPS.append('ffsecurity_genetec') # remove or comment out this line to disable
Before getting started with the integration on the FindFace Security side, deploy the Genetec Web SDK and Media Gateway packages, and create an Alarm entity that will be triggered in Genetec Security Center when a face recognition event occurs in FindFace Security.
In this chapter:
Configure Genetec Web SDK and Media Gateway
To enable and configure Web SDK, use Genetec Config Tool. For details, refer to .
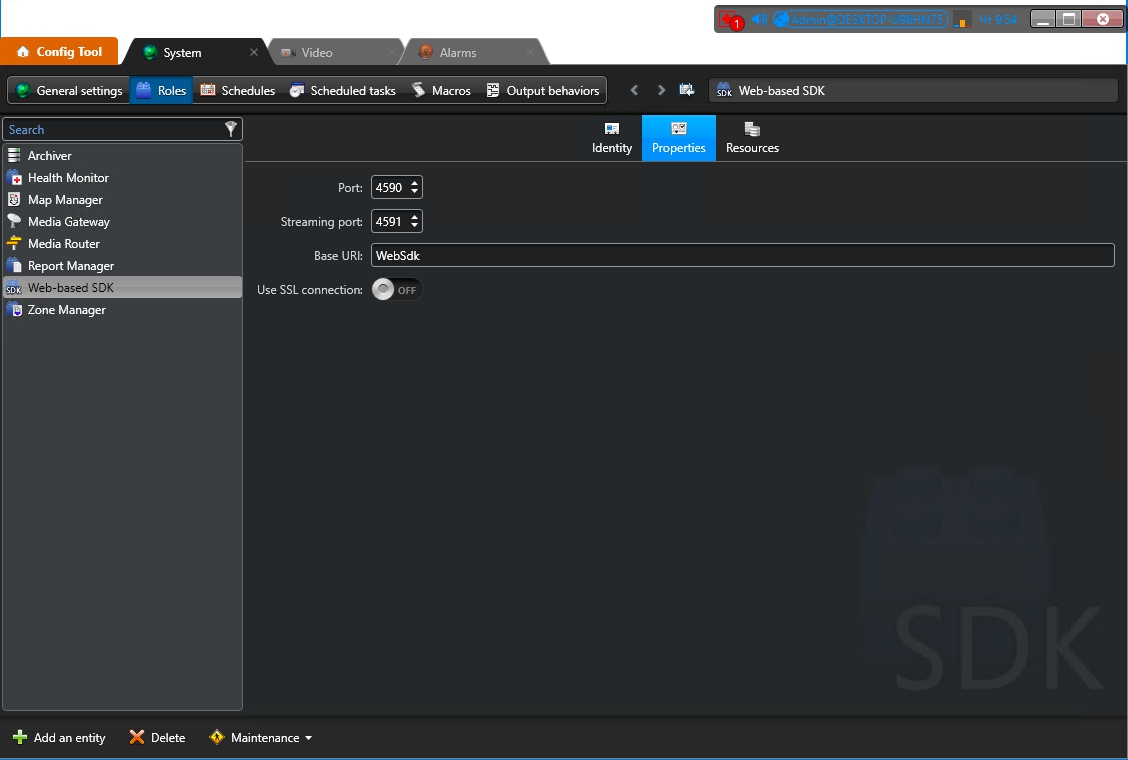
When enabling and configuring Media Getaway in Genetec Config Tool, refer to .
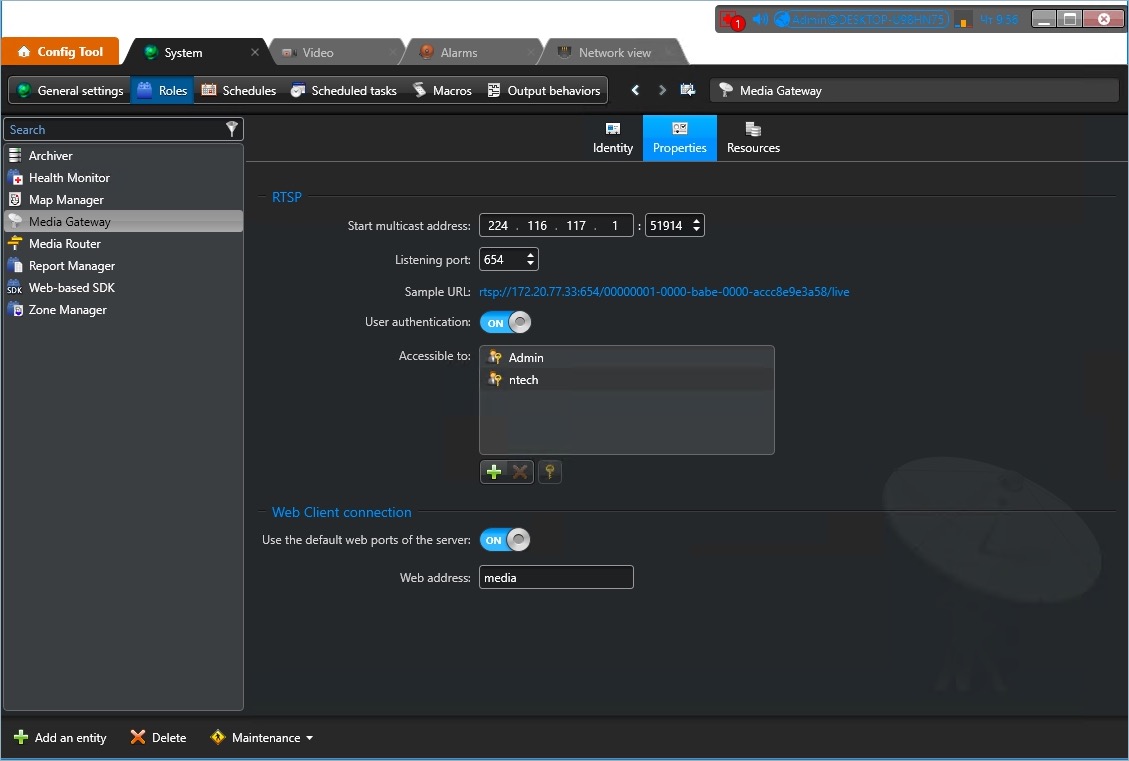
Important
Make sure that the firewall is configured so that the ports for the WebSDK and Media Gateway are open.
Create Alarm in Genetec Security Center
Create and configure a new Alarm entity in Genetec Config Tool. Refer to for details.
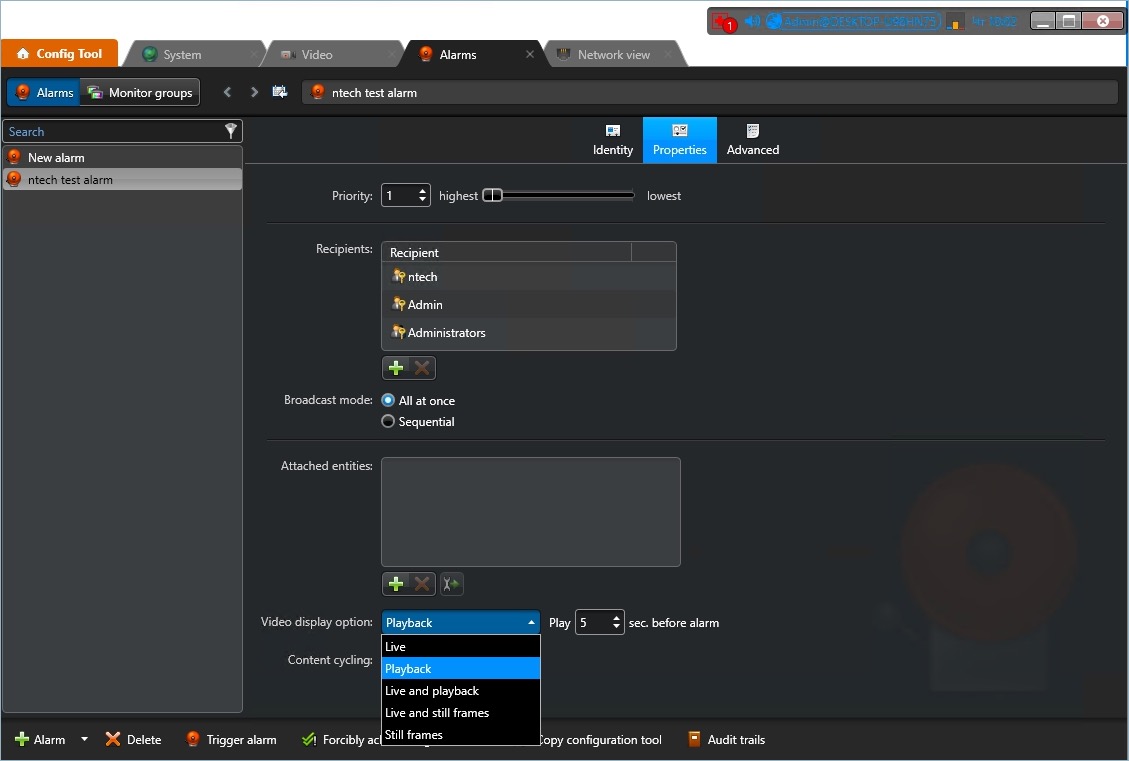
Tip
On the Properties tab, select the Video display option that suits your needs the best. Available options are Live, Playback, etc.
Tip
To enable alarm procedures and auto rotation of video right within the alarm pop-up window, enable Content cycling.
When configuring the integration in FindFace Security, you will have to enter the alarm logical id that is specified on the Identity tab.

Configure Endpoints in FindFace Security
To establish connection between FindFace Security and Genetec Security Center, do the following:
Navigate to the Preferences tab. Click Genetec.
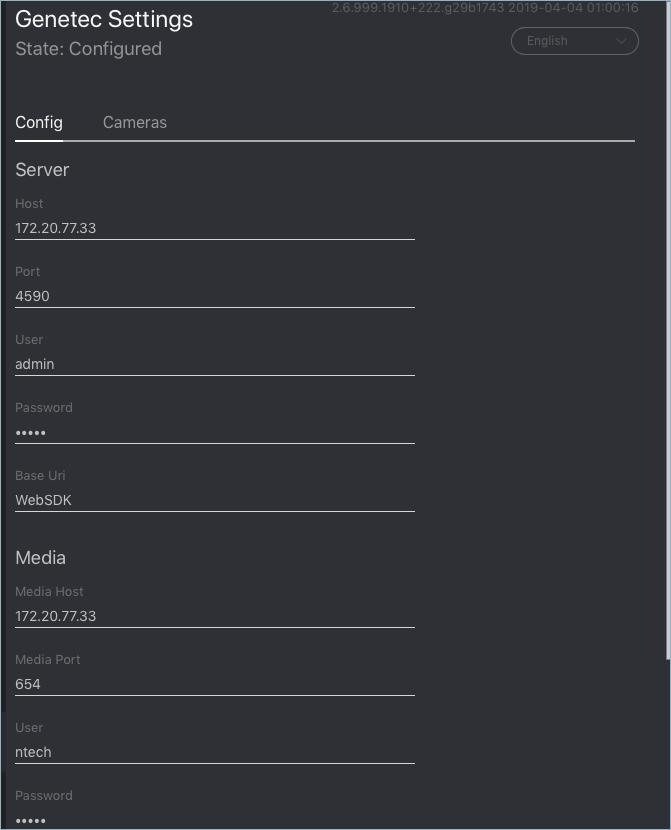
In the Server и Media sections, specify settings of the Web SDK and Media Gateway endpoints.
Important
The ports for the WebSDK and Media Gateway need to be open.
In the Ids section, specify the logical id of the
Alarmentity that will be triggered in Genetec Security Center when a face recognition event occurs in FindFace Security.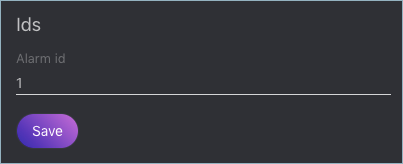
Click Save. If the connection to Genetec Security Center is successfully established, you will see the State change to Configured.
Import Cameras from Genetec Security Center
Once the connection to Genetec Security Center is established, import cameras. To do so, click Cameras on the Genetec tab. Click Import.
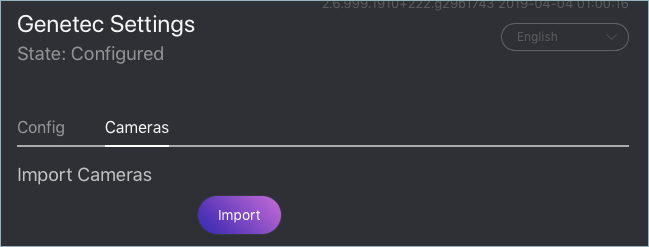
This action will create a group of cameras Genetec listing all the cameras from Genetec Security Center.
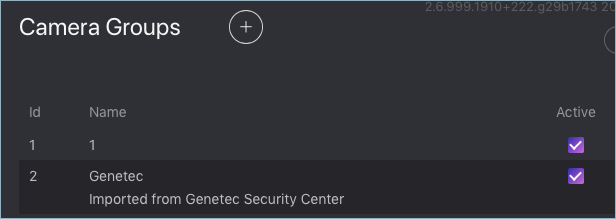
To view this list of cameras, navigate to the Cameras tab on the FindFace Security navigation bar. If you want to exclude a camera from face recognition, simply deactivate it in the list.
Create Watch Lists and Dossiers in FindFace Security
After you have configured the endpoints and camera settings, finish the integration by creating a dossier database. Notifications about face recognition events will be automatically sent to Genetec Security Center. See Notifications in Genetec Security Center.