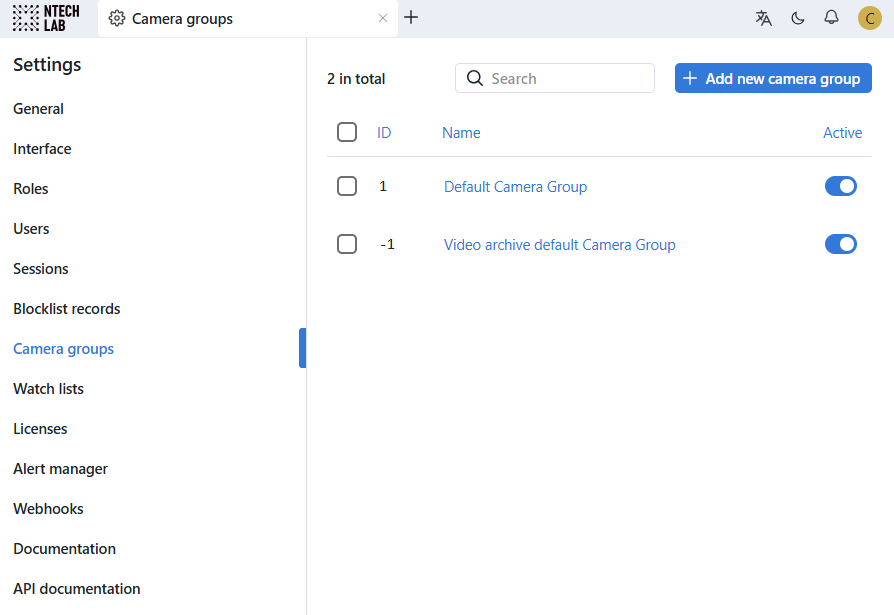
Camera Groups
Camera groups are entities that are used for video sources classification. After processing a video, the system will attribute the object recognition events obtained from the video to a designated camera group. It makes the further event handling and search a lot easier.
To create a camera group, do the following:
Navigate to the Settings tab. Click Camera Groups.
Click + Add new camera group.
On the Information tab, specify the camera group name. Add a comment if needed.
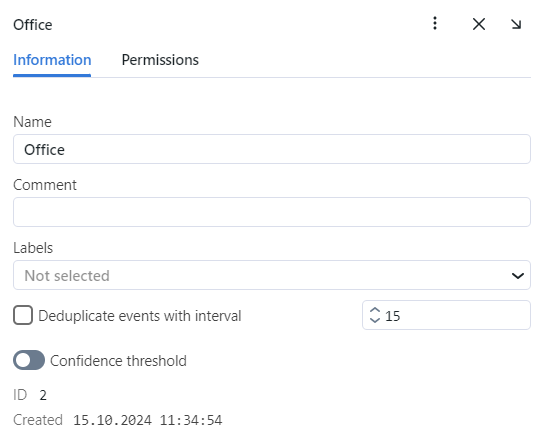
If you want to allocate a certain
findface-video-workerinstance to process video streams from the group, create or select one or several allocation labels.Note
To complete the allocation, list the labels in the
/opt/findface-multi/configs/findface-video-worker/findface-video-worker.yamlconfiguration file. See Allocate findface-video-worker to Camera Group for details.If you want to deduplicate events from cameras that belong to the same group, i.e. exclude coinciding events, select Deduplicate events with interval and specify the deduplication interval (interval between 2 consecutive checks for event uniqueness).
Warning
Use deduplication with extreme caution. If cameras within a group observe different scenes, some objects may be skipped. See Deduplicate Events for details.
By default, video from all camera groups is processed using the generic confidence threshold. To set an individual threshold for the camera group, select Confidence Threshold and specify the threshold value.
Important
The default generic confidence threshold is optimal for the majority of recognition cases. We do not recommend changing it on your own. Be sure to consult with our technical experts prior (support@ntechlab.com).
Click Save.
On the Permissions tab, assign privileges on the camera group, specifying which user roles are allowed to change/view the camera group settings.
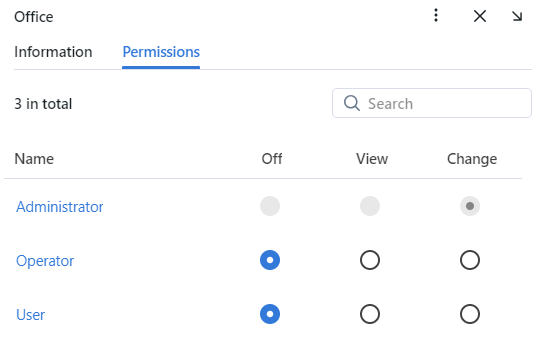
Click Save.
Make sure that the camera group is active.