Video Surveillance
In this chapter:
Video Wall
The FindFace Multi Video Wall allows for basic video surveillance. Use it to display the video image from cameras and video files.
Important
Advanced video surveillance is available with Video Recorder.
Display Video
The Video Wall offers two modes, four predefined layouts in each:
video streaming
video streaming with object detection and episode feed
To display video on the Video Wall, do the following:
Navigate to the Video Wall tab.
Select a mode and camera layout.
Drag-n-drop cameras of your choice to the Video Wall.
You can work with the episode and event feed on the Video Wall in the same manner as with the Episodes & Events tab, including the same filters that are available for episodes and events.
Note
See the full list of episode filters and event filters applicable to the Video Wall.
Video Recorder
Enable Video Recording
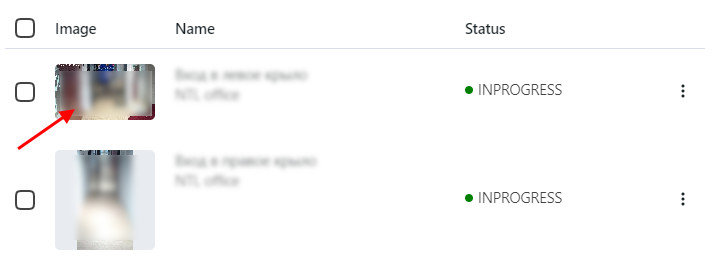
If a Video Recorder is deployed and configured, you will see the Record video checkbox appear in the main camera settings. Check it to enable recording video chunks from a camera and sending them over to Video Recorder for further processing.
View Camera Video in Video Player
Under specific settings, clicking on the camera preview opens up not a static frame, but a video player, streaming live video from the camera.
The video player has a highly intuitive design. It provides the following possibilities:
Stream live video from the camera.
Watch video chunks recorded from the camera. They will be marked in purple on the timeline. To quickly switch from archived video to the camera live stream, click the Live button.
Visual indication of moments corresponding to face or vehicle events (if enabled) as colorful markers on the timeline. The unmatched events are marked in pink, while the matched ones are light green.
Note
This feature is optional and must be pre-configured. See Configure Video Recorder.
Important
The time on the timeline is displayed in the spectator’s time zone. For example, if an event happened at 2 p.m. in Abu Dhabi, its marker would be at 12 p.m. for a spectator in Paris.
Navigate to the past and future over the timeline, with the possibility of zooming it in and out.
Tip
You can navigate along the timeline by using the < / > buttons, or by moving the cursor along the timeline with the right mouse button held down.
Tip
To zoom in and out, use the mouse wheel with Ctrl.
To export selected clips, select the interval and click Download.
View Video from the Event and Episode
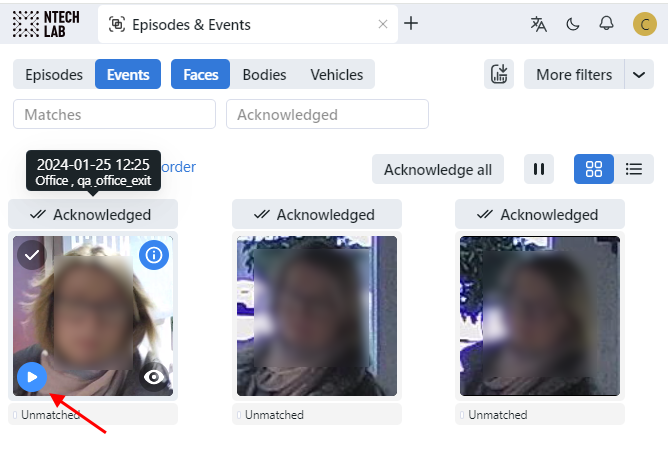
You may view video from the episode or event of your interest, if you have enabled Video Recorder and if you have a recorded video archive during the event or episode. When hovering, the play button will display on the thumbnail of the object (face/body or vehicle). Press it to start playing the video from the time when the event/episode was recorded from the camera.


