Record Index
Record index stores records of individuals, including their biometric data, related documents, links to relevant cases, and other important data.
To create records in bulk, use the console bulk record upload functionality.
In this section:
Create Record
To create a record manually, do the following:
Navigate to the Record Index tab.
Click + Add new record.

Specify the record name. If necessary, add a comment.
From the Watch lists drop-down menu, select a watch list for the record (or several watch lists, one by one).
Check Record active. If a record is inactive, it is excluded from the case analysis, remote alerting and search.
Save the record. You will see additional tabs appear.
On the tab Info, attach related files.
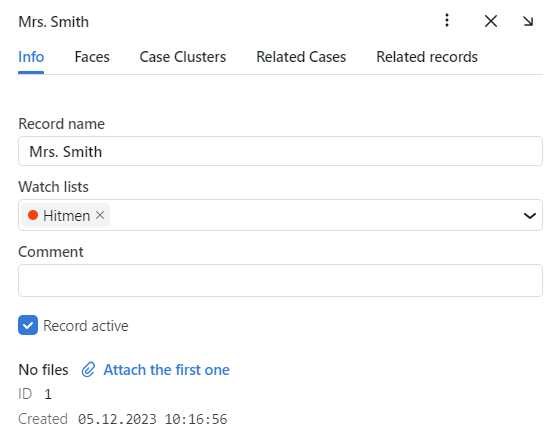
On the Faces tab, upload images of the individual’s face. Supported formats: WEBP, JPG, BMP, PNG, HEIC.

On the Case Cluster tab, Related Cases tab and Related Records tab, the data will be displayed after the record has an automatch with the case cluster, or the connection is set manually during people analyse.
Batch Record Upload
If there are too many records to create, you can batch load records into the record index. Do the following:
Navigate to the Record Index tab.
Click + Add new record → Try batch record upload.
Select files or folder to drop and drag to upload.
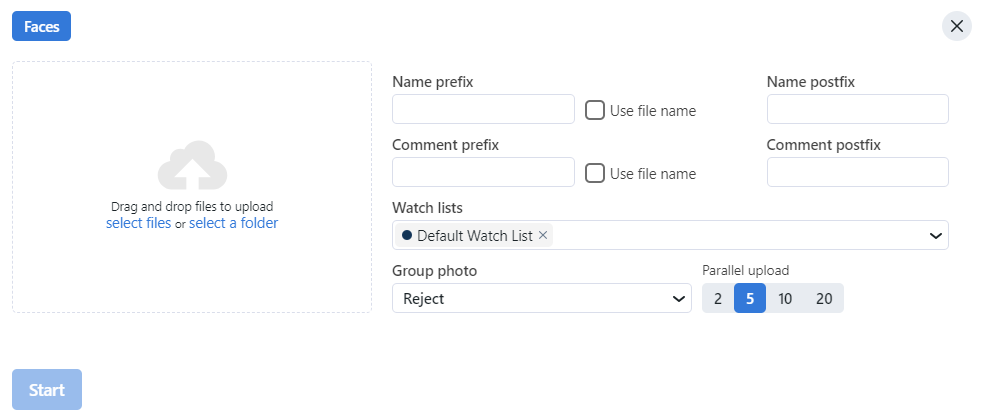
Specify a name prefix and postfix. If necessary, add a comment prefix and postfix.
Select a watch list (or several watch lists, one by one) from the drop-down menu.
Click Start.
Autopopulation with Criminal Investigation Artifacts
While you are performing your duties using FindFace CIBR, investigating cases and analyzing CSI footage, a record is automatically populated with the case data.
If the record has an automatch with the face from the photo or video, uploaded in the case, then a sign  will be displayed on the record thumbnail. If the connection is set manually, then a sign
  will be displayed.

Click it to navigate to the Case Clusters tab or Related Cases of the record.
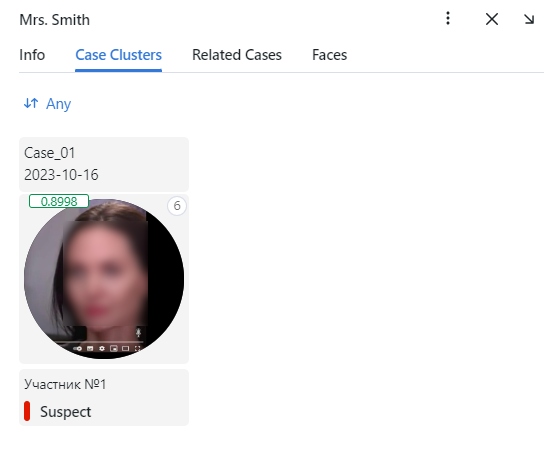
If the selected case cluster isn’t a case participant, navigate to the connections wizard by clicking the face. See Detected People Analysis.

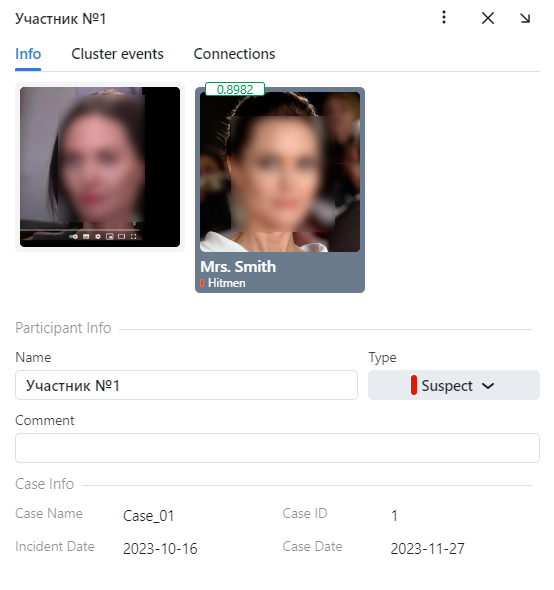
If the selected case cluster is a case participant, navigate to the case participant record by clicking the face.
On the Info tab you can modify participant information, if needed.
On the Cluster events tab you can view detected face images of the participant and other face images of the case cluster.

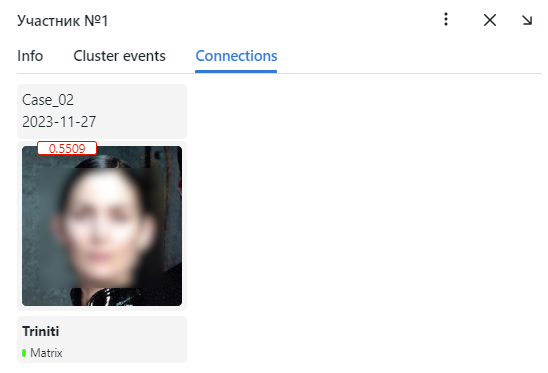
On the Connections tab you can view connections of a participant with persons from other clusters.
Filter Records
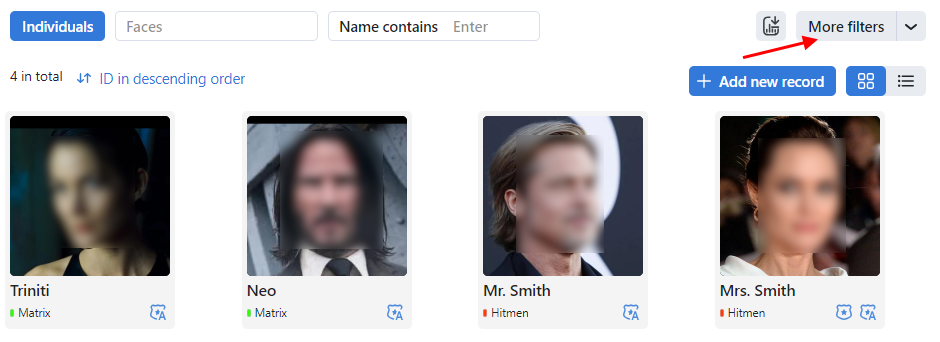
The most frequently used filters for the record index are available in the upper part of the window.
To display the entire set of filters, click the More filters button. Here it is:
Watch lists: display records from selected watch lists.
Faces: filter records by presence of a face biometric data.
Filling: display only empty records, only filled or any records.
Name contains: filter records by name.
ID: display a record with a given ID.
Status: filter records by status.
Match type: filter records by match type (Any/Related/Auto matched/Any type).
You can sort out records on the list by ID.
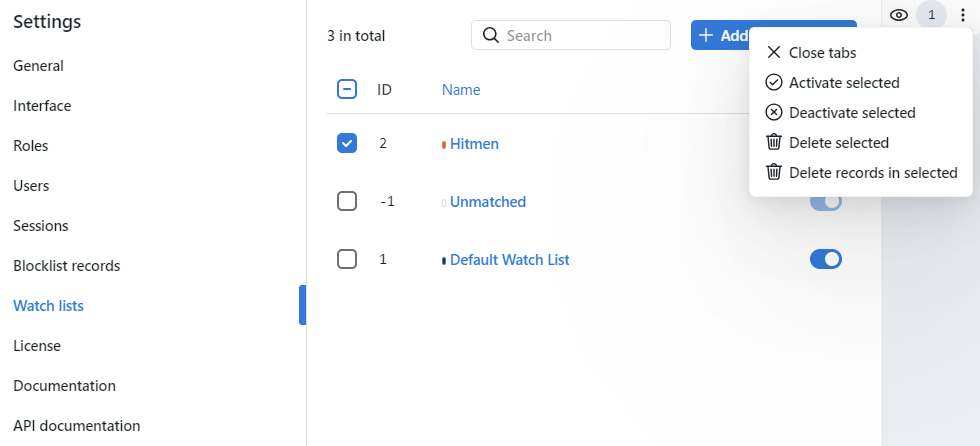
Purge Record Index
You can purge the record index entirely or by watch lists in one click. Do the following:
Navigate Settings → Watch Lists.
Select one or several watch lists.
Click Delete records in selected.