Case Files
FindFace allows for conducting case management and performing investigation by analyzing associated video footage. This functionality is available on the Case Files tab.
In this section:
Video File Formats
Video footage used for case investigations is accepted in a wide variety of formats. Click here for listing.
Case Investigation Workflow
Video-based case investigation is conducted in the following way:
Create a new case file. Specify the incident date, the case ID in a registry, and the registration date.
Specify case details and set up access permissions for it.
Upload a video footage from the criminal scene. Set up video processing parameters if needed. Process the video. The system will return human faces detected in it.
Parse the detected faces. Figure out which individual is likely to be a suspect, a victim, or a witness. Other individuals will be considered not relevant to the case. Link faces to matching records in the global record index and participants of other cases.
Fill in case participant records. Specify their names and attach related documents.
Keep returning to the case file to supplement it with new materials, as the investigation progresses.
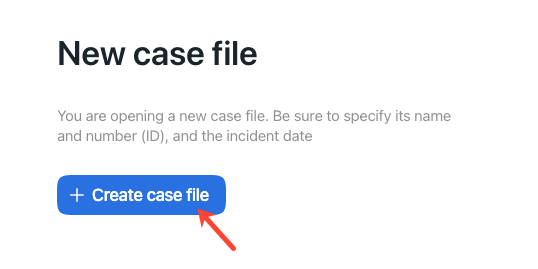
Create Case File
To create a case file, do the following:
Navigate to Case Files.
Click + Create case file.
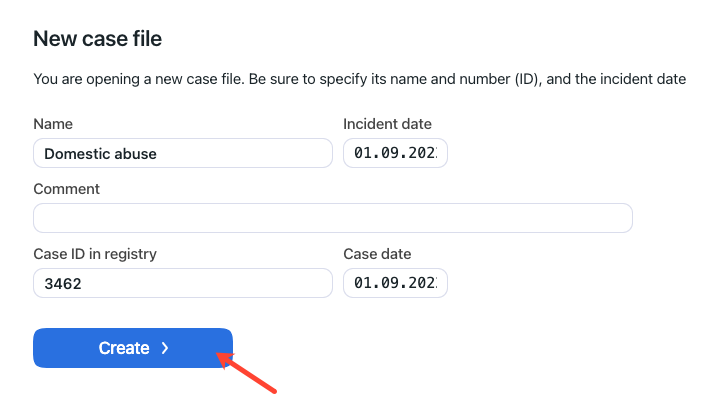
Enter the descriptive name of the case. Specify the incident date.
Add a comment if required.
Specify the case ID and date in the registry.
Click Save. As a result, the case file will be added to the case list.
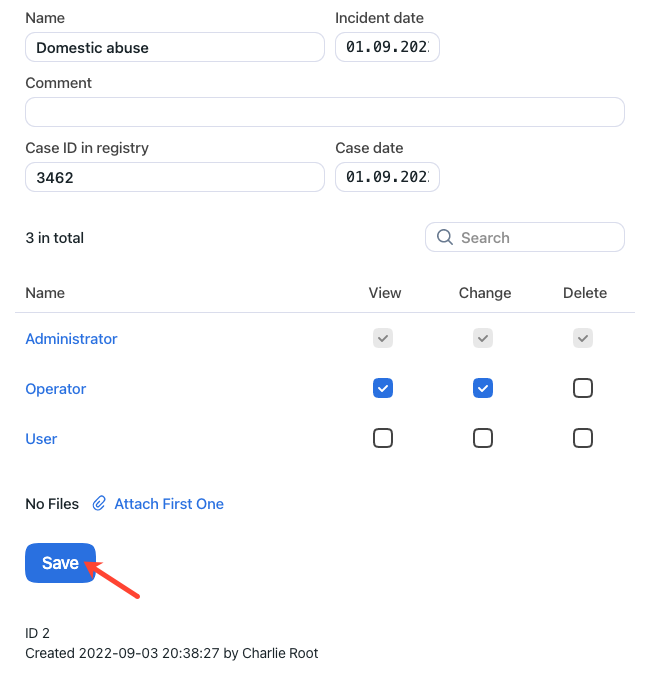
Case Access Permissions and Related Documents
After you create a case, specify its details and set up access permissions. Do the following:
Click the case on the case list to open it.

Click Set access permissions to modify the default access permissions.
Attach one or several files relevant to the case.
Click Save.
Upload and Process Video File
To upload and process a CSI video footage, do the following:
Open the case file.
Navigate to the Sources tab.
Click the + Upload first video button.
Specify a URL or select a file. Click Upload.
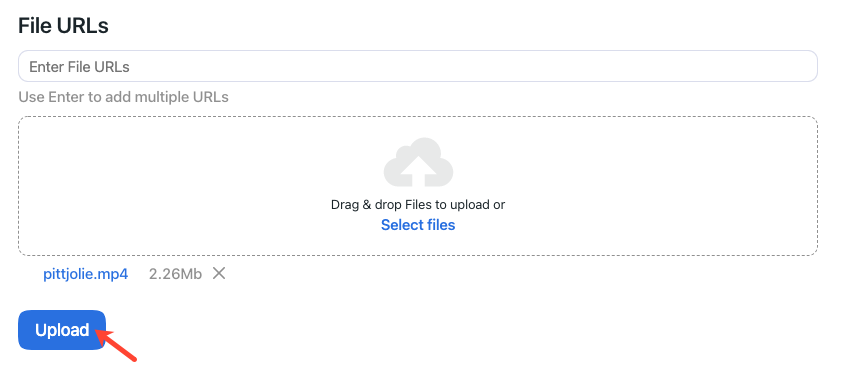
The video will be uploaded and shown in the source list.
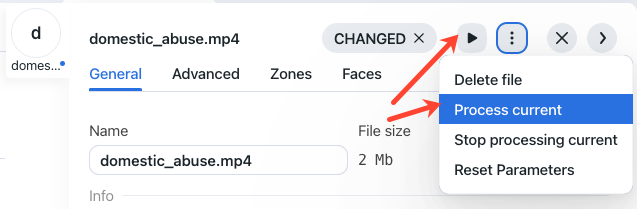
Click the video on the list to open the processing configuration wizard. Set up the video processing parameters on the following tabs:
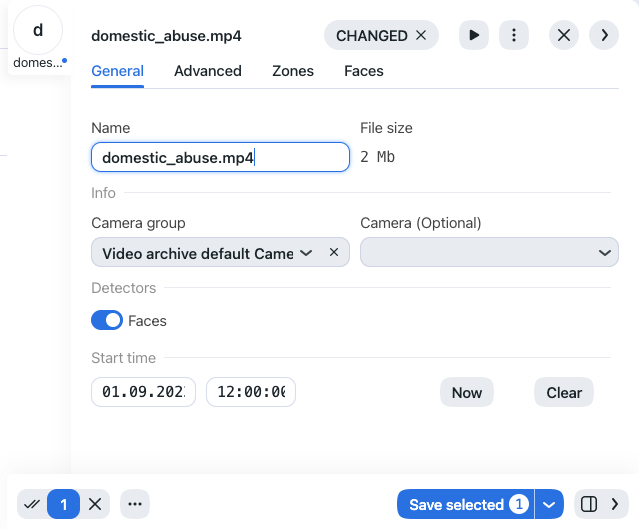
General.
If necessary, change the video file name. Specify the video start time.
Advanced.
Fine-tune the video processing using the following parameters:
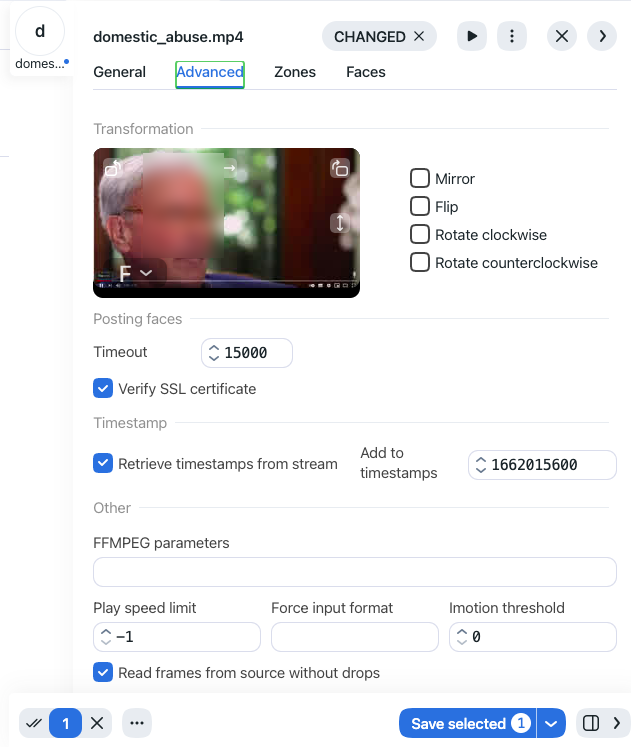
If needed, change the video orientation.
Timeout: Specify the timeout in milliseconds for posting detected faces.
Verify SSL: Check to enable verification of the server SSL certificate when the video face detector posts faces to the server over https. Uncheck the option if you use a self-signed certificate.
Retrieve timestamps from stream: Enable to retrieve and post timestamps from a video stream. Disable to post the actual date and time.
Add to timestamps: Add the specified number of seconds to timestamps from a stream.
FFmpeg parameters: FFmpeg options for the video in the key-value format, for example,
rtsp_transport=tcp ss=00:20:00.Play speed limit: If less than zero, the speed is not limited. In other cases, the stream is read with the given speed.
Force input format: Pass FFmpeg format (mxg, flv, etc.) if it cannot be detected automatically.
Imotion threshold: Minimum motion intensity to be detected by the motion detector.
Read frames from source without drops: Enables posting all appropriate faces without drops. By default, if the video face detector does not have enough resources to process all frames with faces, it drops some of them. If this option is active, it puts odd frames on the waiting list to process them later.
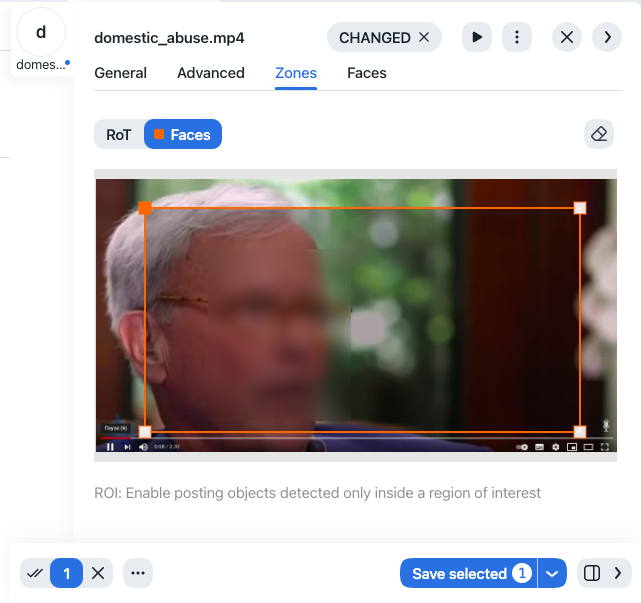
Zones.
Specify the region of tracking within the camera field and region of interest. The region of tracking enables detecting and tracking faces only inside a clipping rectangle. You can use this option to reduce the video face detector load. The region of interest enables posting faces detected only within its boundaries.
Faces.
Specify settings for face detection.
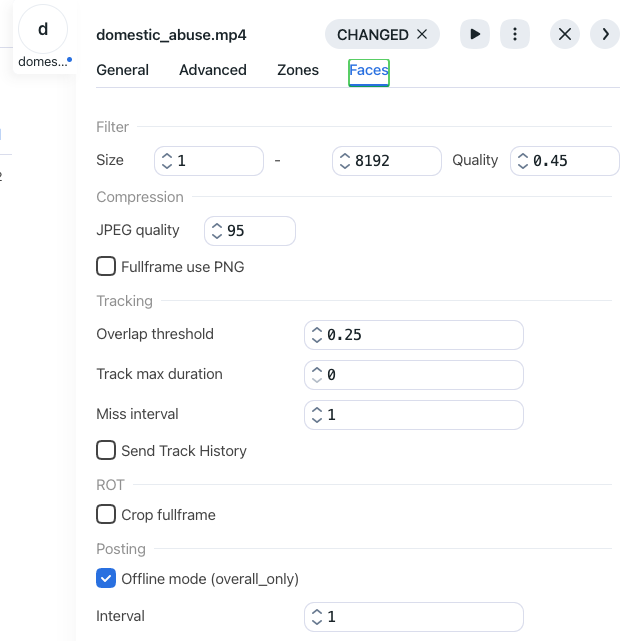
Size: Face size range to post, in pixels.
Quality: Minimum quality of a face snapshot to post. Do not change the default value without consulting with our technical experts (support@ntechlab.com).
Compression quality: Full frame compression quality.
Full frame in PNG: Send full frames in PNG and not in JPEG as set by default. Do not enable this parameter without supervision from our team as it can affect the entire system functioning.
Track max duration: The maximum approximate number of frames in a track after which the track is forcefully completed. Enable it to forcefully complete “eternal tracks,” for example, tracks with faces from advertisement media.
Miss interval: The system closes a track if there has been no new face in the track within the specified time (seconds).
Send track history: Send the history of a track.
Crop full frame: Crop posted full frames by ROT.
Offline mode: By default, the system uses the offline mode to process the video, i.e., it posts one snapshot of the best quality per track to save the disk space. Disable it to receive more face snapshots if needed. If the offline mode is on, parameters of the real-time mode are off.
Interval (real-time mode): Interval in seconds (integer or decimal) within which the face tracker picks up the best snapshot in the real-time mode.
Post first object immediately (real-time mode): Check to post the first face from a track immediately after it passes through the quality, size, and ROI filters, without waiting for the first
Intervalto complete. Uncheck the option only to post the first face after the firstIntervalcompletes.Post every interval (real-time mode): Check to post the best snapshot obtained within each
Intervalin the real-time mode, regardless of its quality. Uncheck the option to post the best snapshot only if its quality has improved compared to the previously posted snapshot.Post first frame of track (real-time mode): Post the first frame of a track.
Post last frame of track (real-time mode): Post the last frame of a track.
Post best normalized image of track: Send best normalized images for detected faces.
Post best full frame of track: Send best full frames of detected faces.
Process the video footage.
The processing results will be available on the Clusters tab.
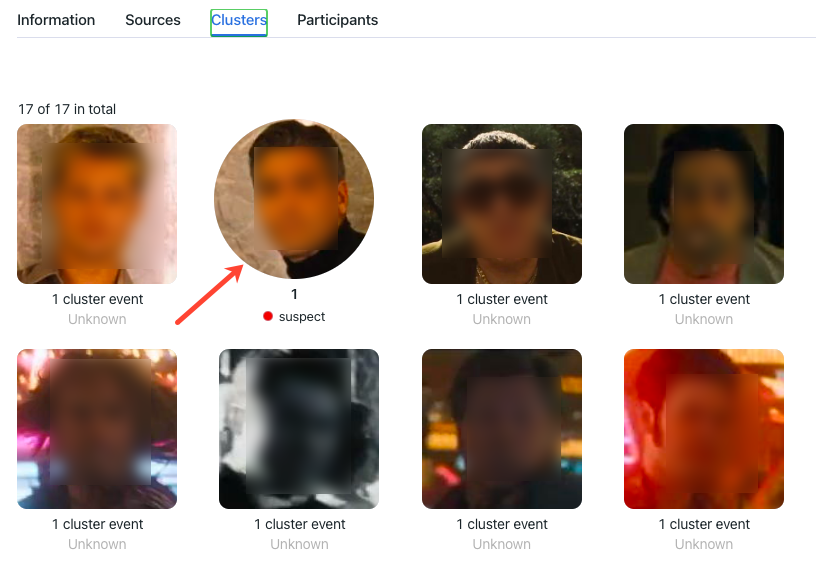
Detected People Analysis
The clusters of faces, once detected in the video, are shown on the Clusters tab. Here you need to parse them subject to the role a person plays in the incident and establish links to relevant global records, other case files, participants of the same case, and other clusters.
Do the following:
Click on a face on the list.

Tip
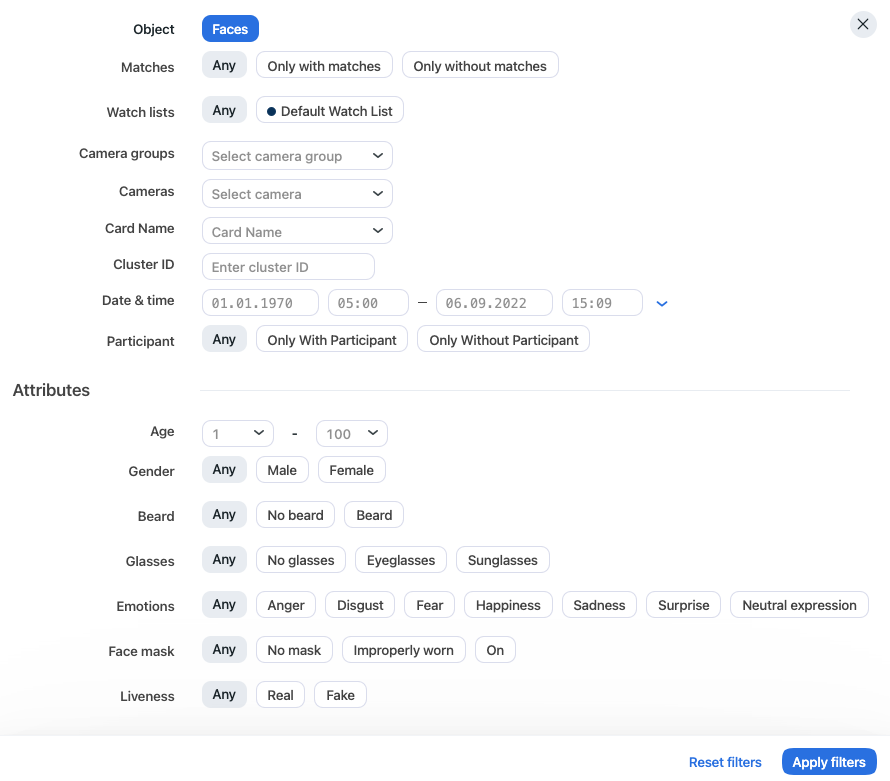
With the large number of clusters, use filters. Click the More filters button in the upper-right corner to display them.
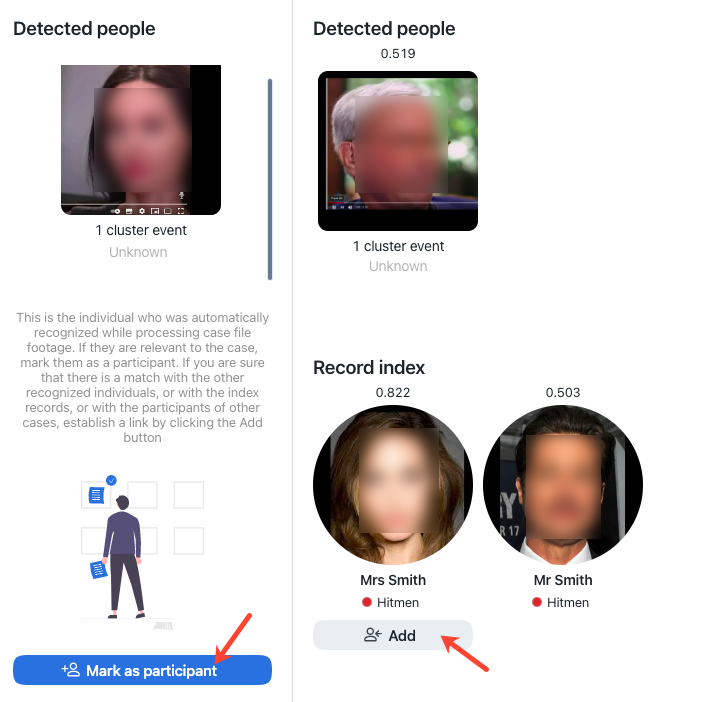
Link the face to a matching record in the global record index and matching participants of other case files. Do so by clicking the Add button. You can also link the face to participants of the same case and other clusters.
Click Mark as participant.
Specify the participant name and type, and add a comment if necessary. This will create a new case participant record that you will be able to view on the Participants tab.
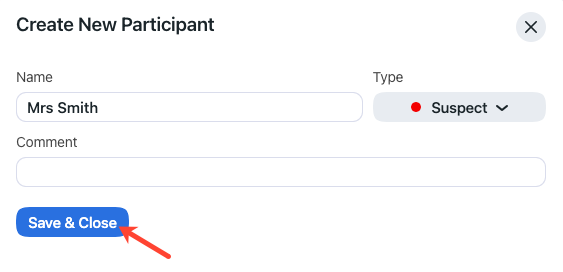
A participant can be one of the following types:
suspect
victim
witness
Click SaveClose.
You can reopen the connections wizard on the Clusters tab by clicking on the participant’s face again.
To access the participant record, navigate to the Participants tab.
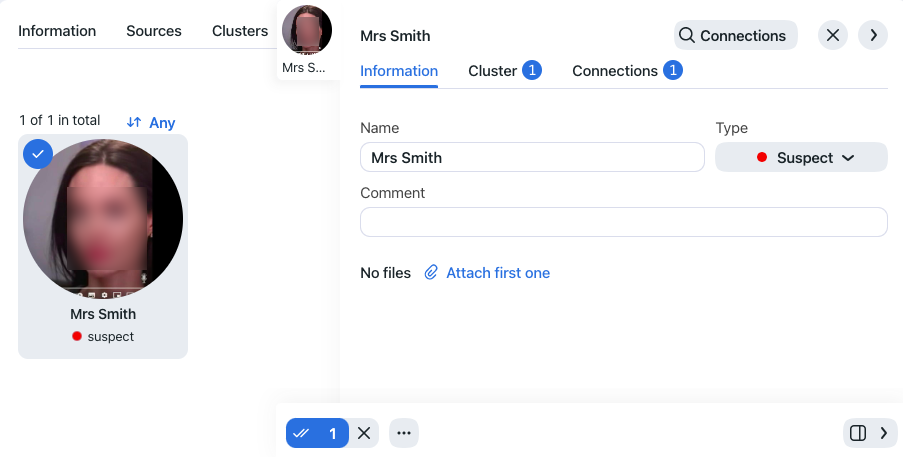
Case Participant Records
The Participants tab provides access to all participant data collected so far.
To view a case participant record, click the relevant face on the list. In the record, you can attach files, view detected face images of the participant, re-establish links with matching global records and other case files, etc.
Case File Archive
It’s possible to label a case file as archived to indicate that the case is closed, or for another reason.
To archive/unarchive case files, do the following:
On the Case Files tab, select one or several case files.
Click Archive selected to archive the case files. Click Unarchive selected to reopen them.
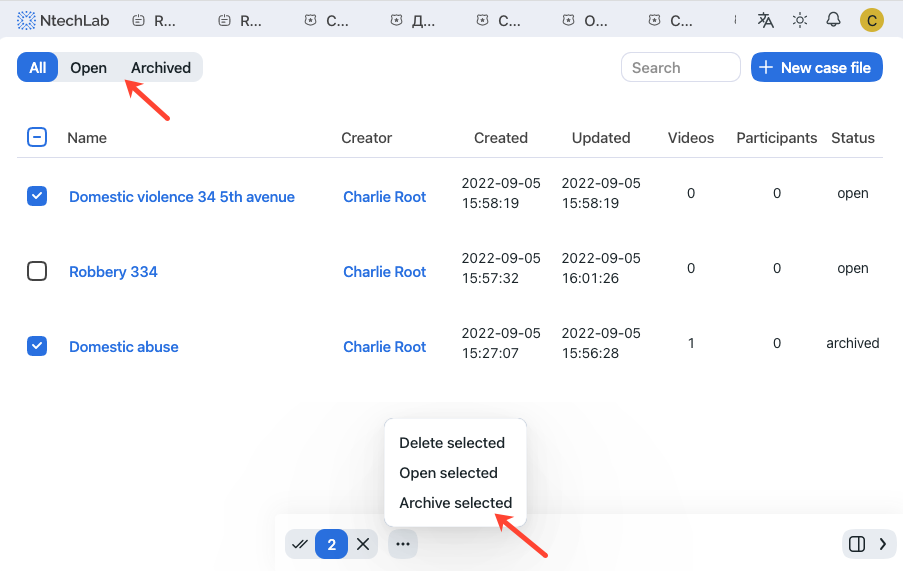
You can filter the case file list by archived status: All, Opened, Archived.