Record Index
Record index stores records of individuals, including their biometric data, related documents, links to relevant cases, and other important data.
To create records in bulk, use the console bulk record upload functionality.
In this section:
Create Record
To create a record manually, do the following:
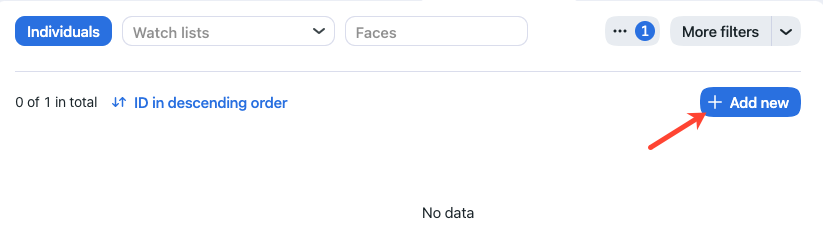
Navigate to the Record Index tab.
Click + Add new.
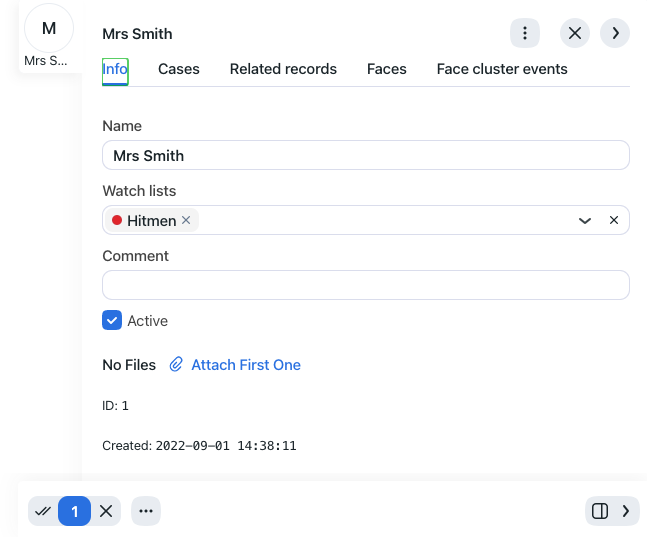
Specify the individual’s name. If necessary, add a comment.
From the Watch lists drop-down menu, select a watch list for the record (or several watch lists, one by one).
Check Active. If a record is inactive, it is excluded from the case analysis, remote alerting and search.
Save the record. You will see additional tabs appear.
On the same tab Info, attach related files.
On the Faces tab, attach images of the individual’s face. Supported formats: WEBP, JPG, BMP, PNG.
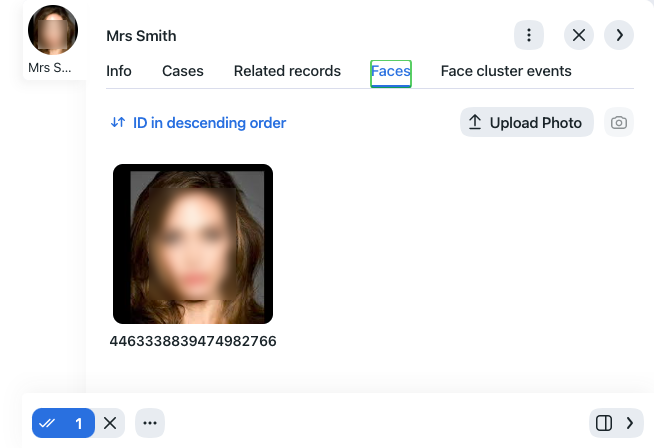
Save the record.
Console Bulk Record Upload
You can bulk-upload records to the record index via the findface-security-uploader console utility.
Tip
To view the findface-security-uploader help, execute:
findface-security-uploader --help

Usage: findface-security-uploader [OPTIONS] COMMAND [ARGS]...

Options:
  --job PATH        Job file (default: enroll-job.db)
  --log-level TEXT  Log level
  --fsync BOOLEAN   Call fsync() to prevent data loss on power failure
  --help            Show this message and exit.

Commands:
  add    Add items from CSV or TSV file to job
  print  Print contents of job file as JSON
  run    Run upload job
findface-security-uploader add --help

Usage: findface-security-uploader add [OPTIONS] FILES...

Options:
  --format [csv|tsv]  Input file format - CSV or TSV
  --delimiter TEXT    Field delimiter - by default it's "\t" for TSV and ","
                      for CSV
  --help              Show this message and exit.
findface-security-uploader print --help

Usage: findface-security-uploader print [OPTIONS]

Print contents of job file as JSON

Options:
 --failed  Show only failed images
 --noface  Show only images without detection
 --help    Show this message and exit.
findface-security-uploader run --help

Usage: uploader.py run [OPTIONS]

Run upload job

Options:
  --parallel INTEGER       Number of enroll threads (default: 10)
  --api TEXT               API url (default: http://127.0.0.1:80/)  [required]
  --user TEXT              API username  [required]
  --password TEXT          API password  [required]
  --watch-lists TEXT       Comma-separated list of card list ids  [required]
  --inactive               Mark new cards as inactive
  --failed                 Include failed images
  --noface                 Include images without detection
  --all-faces              Enroll all found faces on each image
  --logging-delta INTEGER  Logging period delta
  --help                   Show this message and exit.
Do the following:
Write the list of photos and metastrings to a CSV or TSV file.
Important
The file used as a metadata source must have the following format:
path to photo | metastring.To prepare a TSV file, use either a
scriptor thefindcommand.Note
Both the script and the command in the examples below create the
images.tsvfile. Each image in the list will be associated with a metastring coinciding with the image file name in the formatpath to photo | metastring.To build a TSV file listing photos from a specified directory (
/home/user/25_celeb/in the example below), run the following command:python3 tsv_builder.py /home/user/25_celeb/
The
findusage example:find photos/ -type f -iname '*g' | while read x; do y="${x%.*}"; printf "%s\t%s\n" "$x" "${y##*/}"; done
Create a job file out of a CSV or TSV file by using
add. As a result, a fileenroll-job.dbwill be created and saved in a current directory.findface-security-uploader add images.tsv
The
addoptions:--format: input file format, tsv by default,--delimiter: field delimiter, by default"\t"for TSV, and","for CSV.
Note
A job file represents a sqlite database which can be opened on the sqlite3 console.
Process the job file by using
run.findface-security-uploader run --watch-lists 2 --api http://127.0.0.1:80 --user admin --password password
The important
runoptions:--parallel: the number of photo upload threads, 10 by default. The more threads you use, the faster the bulk upload is completed, however it requires more resources too.--all-faces: upload all faces from a photo if it features several faces.--api:findface-securityAPI URL,http://127.0.0.1:80/by default. Mandatory option.--user: login. Mandatory option.--password: password. Mandatory option.--watch-lists: comma-separated list of the watch lists id’s. Mandatory option.--failed: should an error occur during the job file processing, correct the mistake and try again with this option.--inactive: mark new records as inactive.--noface: by default, images classified as having no faces will be assigned theNOFACEstatus and automatically excluded from the upload. To attempt re-detecting faces in such images, re-run the job file with this option. If the re-detection gives a negative result again, an image will be skipped and a relevant record will appear in the upload log.
(Optional) Print the job processing results as JSON. If necessary, you can print only failed images/ images without detected faces.
findface-security-uploader print --failed
findface-security-uploader print --noface
Autopopulation with Criminal Investigation Artifacts
While you are performing your duties using FindFace, investigating cases and analyzing CSI footage, a record is automatically populated with the following data:
Related cases on the Cases tab.
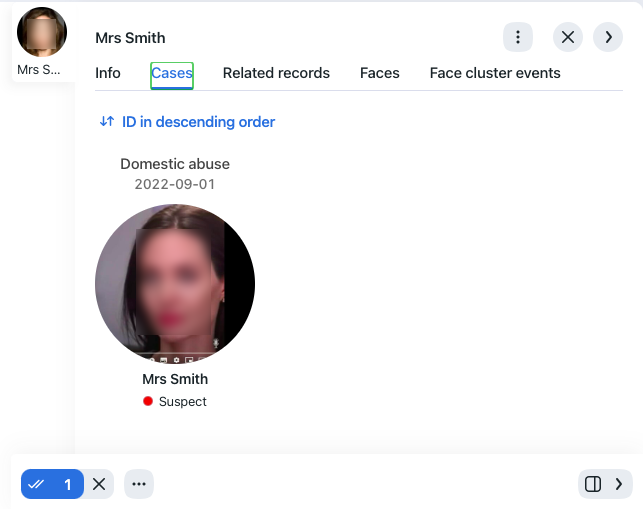
To establish such a link, you need to bind the record to a relevant participant during a case investigation.
Related records on the same-name tab.
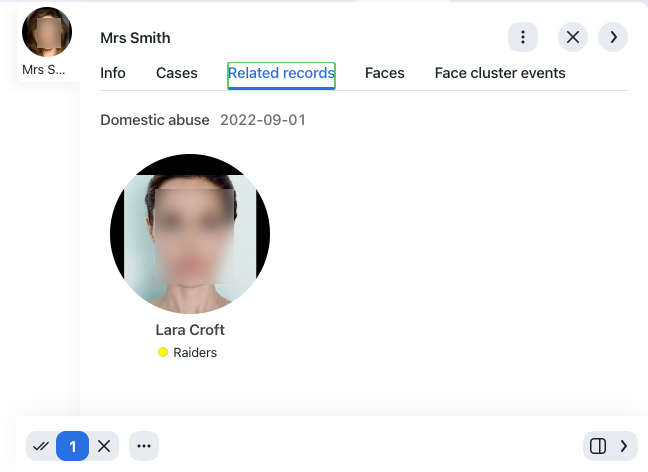
The first way this tab is populated is when a perpetrator operates under different guises, and you create separate records to address each of them. If you link a case participant to several records, they will automatically get interlinked.
The second way is when a case has several participants linked to records. Each participant’s record will store links to the records of the case’s other participants.
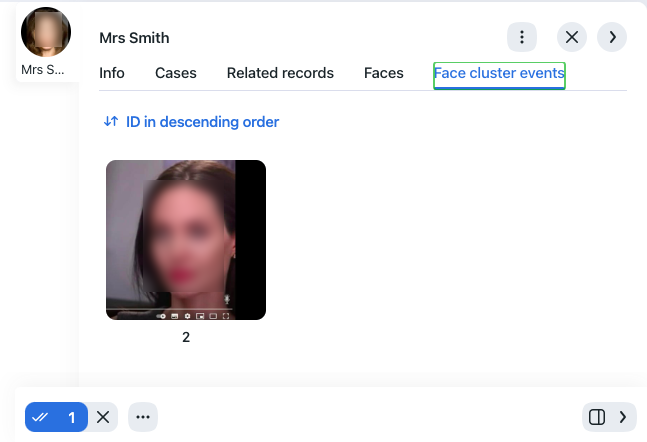
Detected faces on the Face cluster events tab. All face detection events of an individual from the cases linked to this record will be shown on this tab.
Filter Records
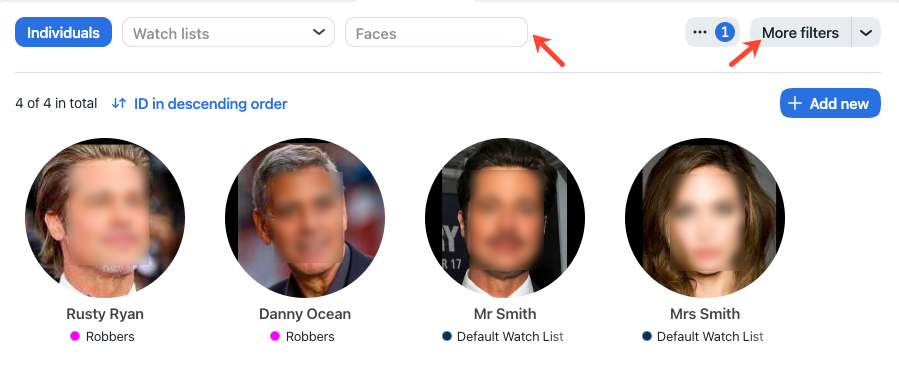
The most frequently used filters for the record index are available in the upper part of the window.
To display the entire set of filters, click the More filters button. Here it is:
Watch lists: display records from selected watch lists.
Faces: filter records by presence of a face biometric data.
Name: filter records by name.
ID: display a record with a given ID.
You can sort out records on the list by Created data.
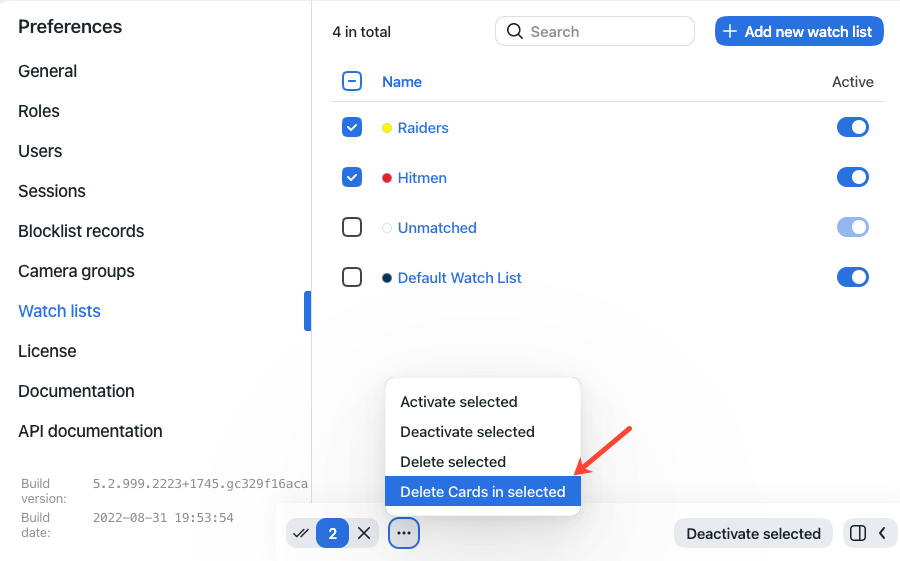
Purge Record Index
You can purge the record index entirely or by watch lists in one click. Do the following:
Navigate Settings -> Watch Lists.
Select one or several watch lists.
Click Delete records in selected.